How to Properly Lay a Stepping Stone Path
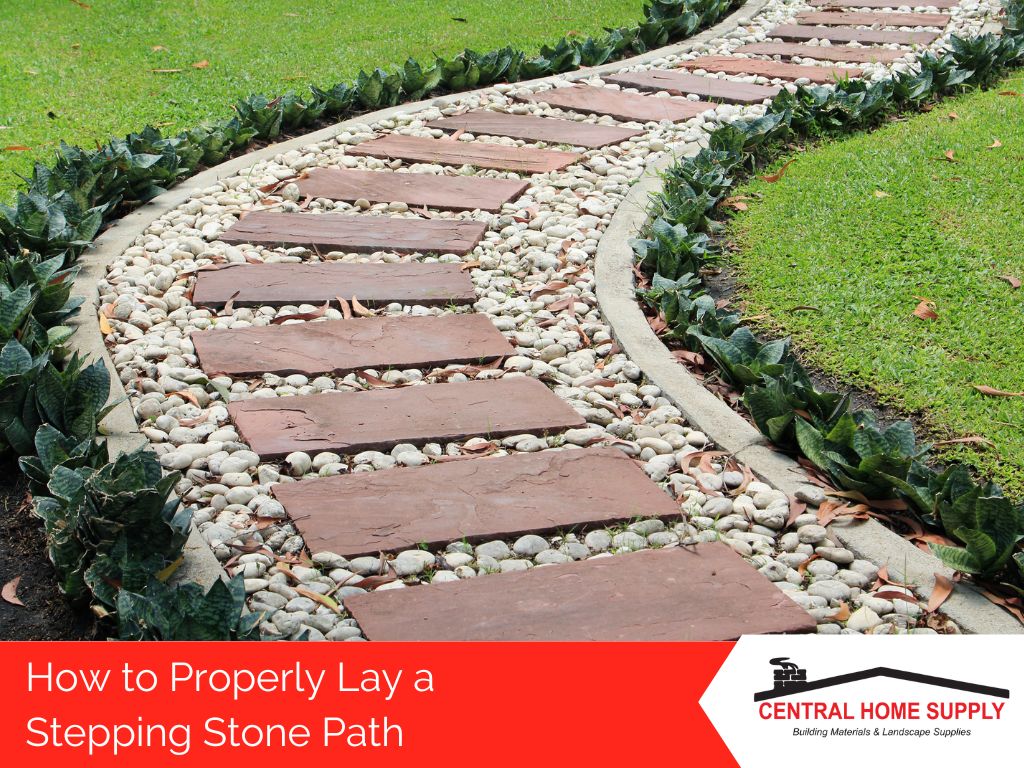
A stepping stone path is a beautiful addition to any garden or outdoor space. It not only adds functionality by providing a clear path to walk on, but it also adds aesthetic appeal and can be used as a focal point in your landscaping.
However, laying a stepping stone path can be a bit tricky if you don’t know the proper steps to take. How far apart should stepping stones be? What materials should you use when laying stepping stones?
At Central Home Supply, we have all the materials and knowledge you need to create a stunning stepping stone path. In this guide, we will walk you through the steps of properly laying a stepping stone path so that you can enjoy a beautiful and functional addition to your garden.
Materials Needed
The first step in laying a stepping stone path is gathering all the necessary materials. Here is a list of what you’ll need:
Flat Stones
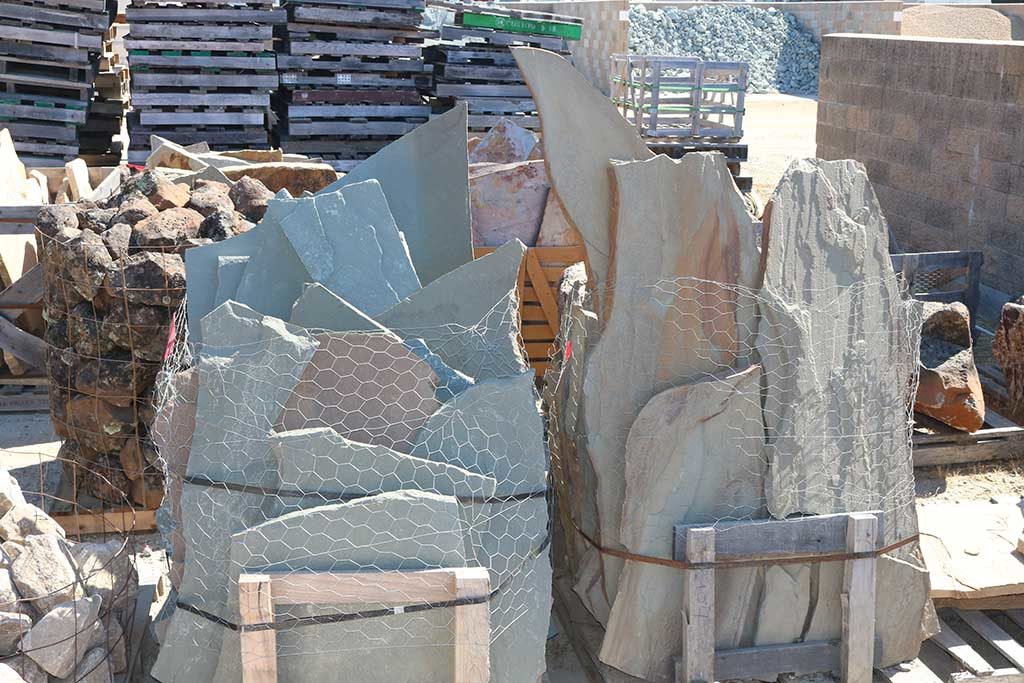
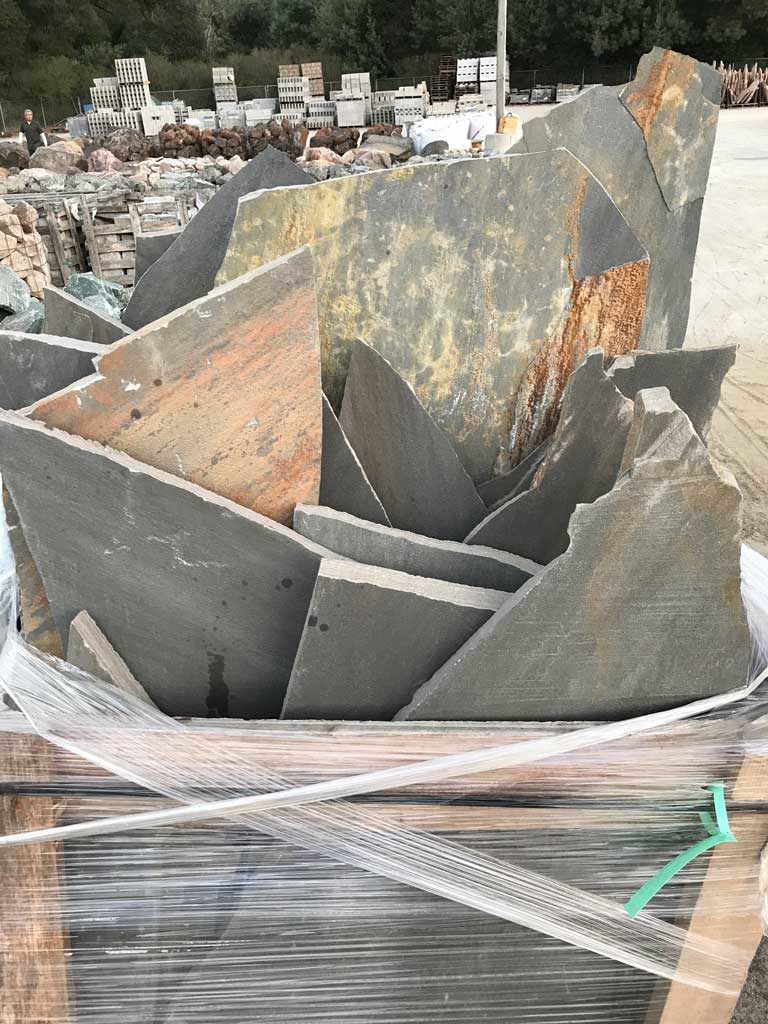
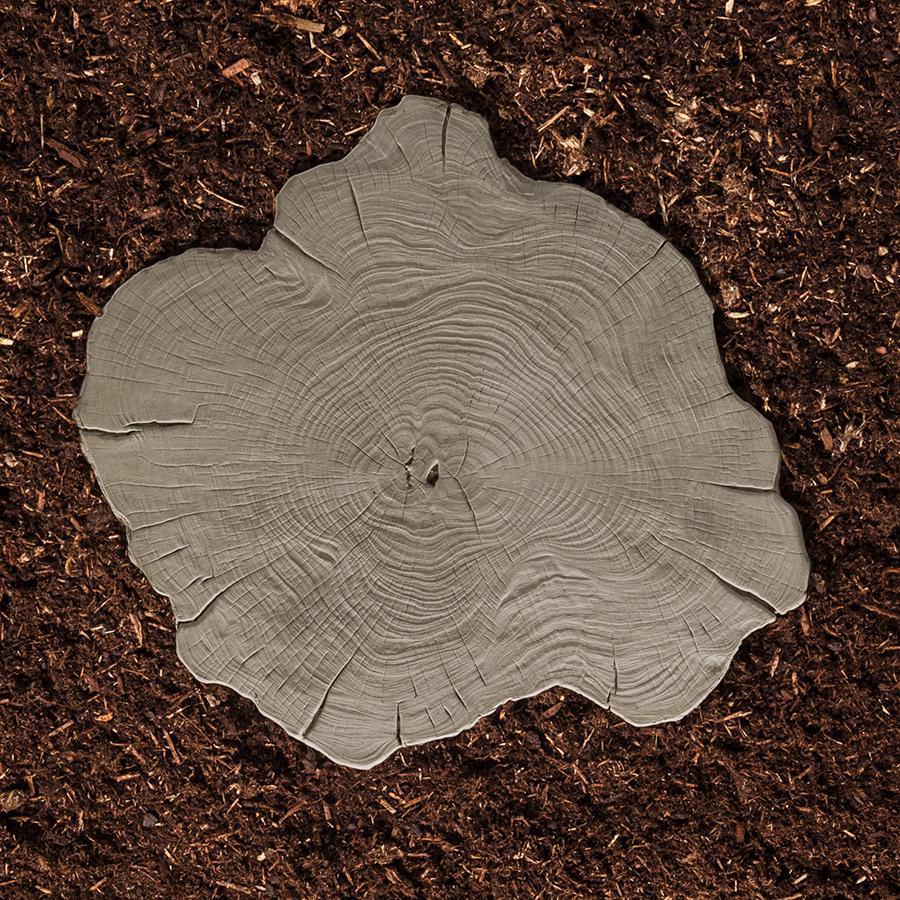
The main material you’ll need for your path is flat stones. The type of stone you choose will depend on your personal preference and the overall aesthetic you want to achieve. Make sure to purchase enough stones to cover the desired path length.
Some things to keep in mind when selecting stones:
- Choose stones with a flat surface for stability and ease of walking.
- Mix and match different sizes and shapes for a more natural look.
- Don’t forget to consider the color and texture of your stone, as it will affect the overall appearance of your path.
At Home Central Supply, we often recommend Techo-Bloc Stepping Stones, Blu Grande, and Flagstone pathways for their durability and beauty.
Leveling Sand
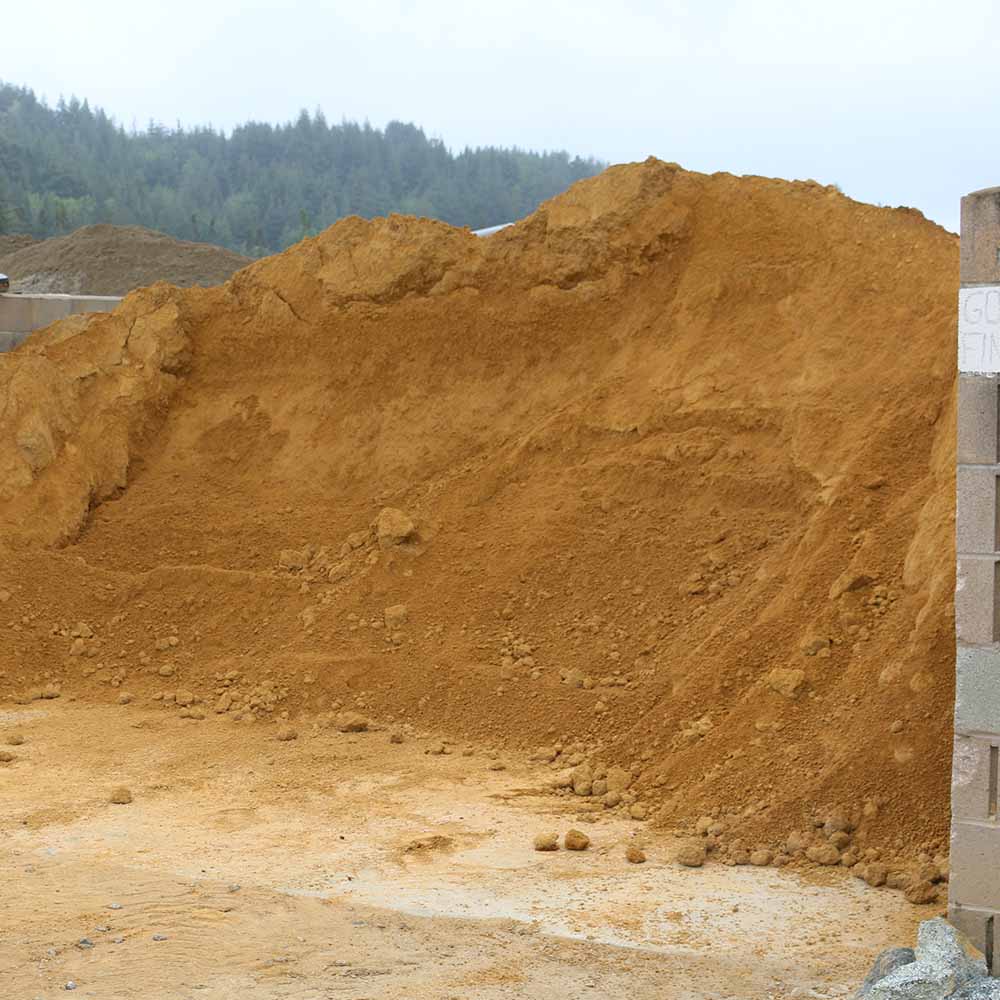
In addition to flat stones, you’ll also need leveling sand. This will be used as a 3-4″ base for your stepping stones and help maintain their stability over time.
Gravel (Optional)
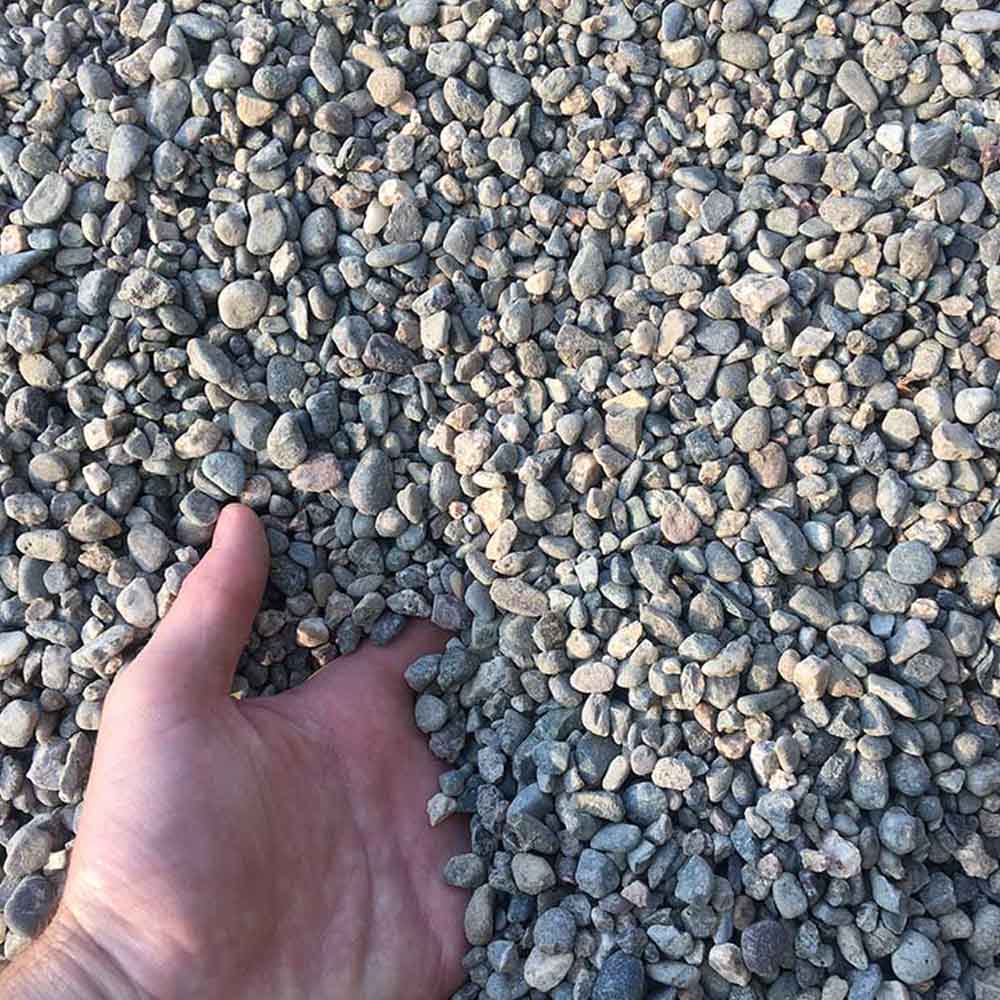
Many California homeowners choose to use gravel as a base for their stepping stone paths. This can help with drainage and prevent the stones from shifting over time. If you opt for using gravel, make sure to purchase a sufficient amount based on the length of your path.
Additional materials you may need include a shovel, wheelbarrow, trowel, carpenter’s level, and a rubber mallet. You may also want to have some landscape fabric on hand to prevent weeds from growing between the stones.
2. Planning Your Stepping Stone Path
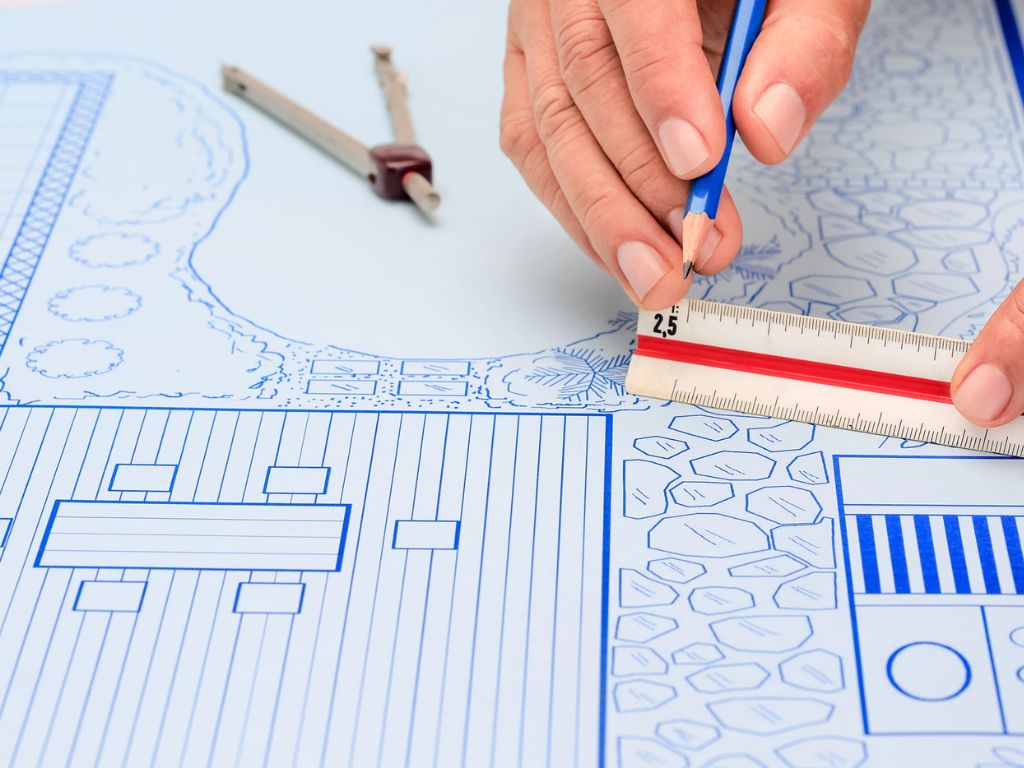
Before you start laying your stones, it’s important to plan out your path. Consider the following factors:
Path Layout
Take some time to envision the layout of your path. Do you want a straight path or one with curves? Will it be a single path, or will there be multiple branches? Consider the overall design and flow of your outdoor space when deciding on the layout.
Measurement and Spacing
Measure the length and width of your desired path and determine the spacing between each stone. Typically, stones are placed 2-3 inches apart, but this can vary depending on the size of your stones and personal preference.
Practical Considerations
Think about the function of your path and how it will be used. Will it be a high foot traffic area or primarily decorative? This will help determine the thickness of your base and the type of stones you use. Also, consider any potential obstacles or slopes that may affect the placement of your stones.
Step-By-Step Guide to Laying Your Stepping Stone Path
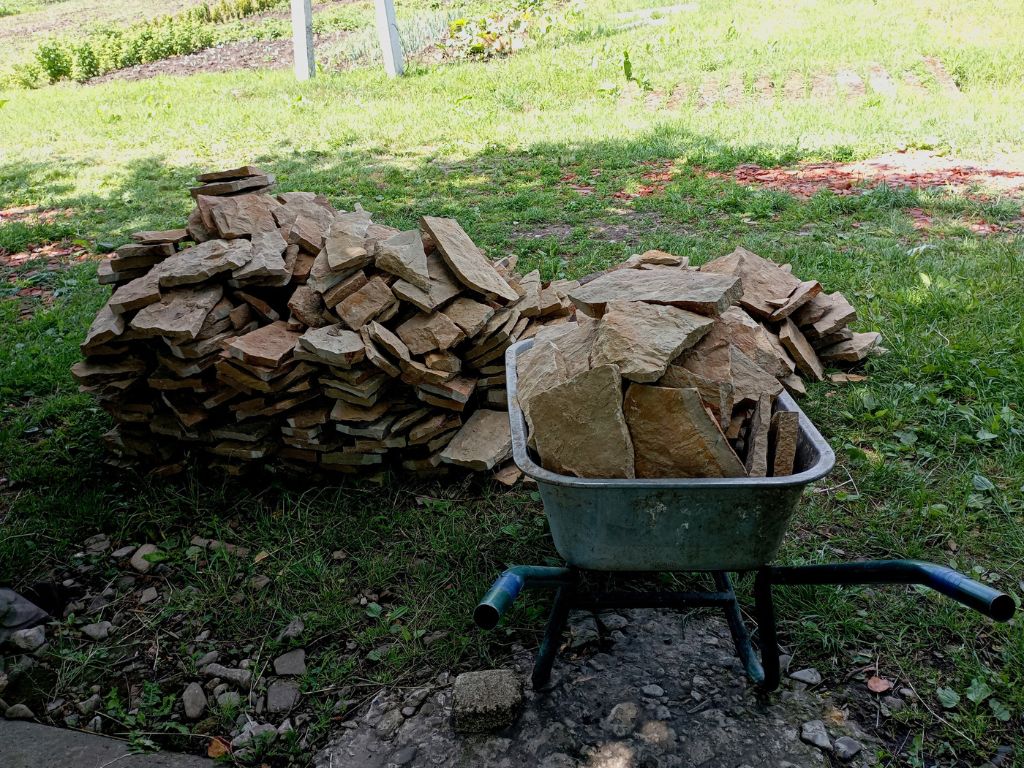
Now that you have a plan in place, it’s time to start laying your new path. Follow these steps for a successful installation:
1. Prepare the Area
Start by clearing away any existing grass or debris from the path area. Use a shovel to level the ground and remove any large rocks or roots. Then, use a rake to smooth out the surface and create a level base for your stones.
2. Add a Base Layer
Lay down a layer of sand on top of the prepared area. This will create a stable base for your stones and help with drainage. Use a tamper to compact the base and ensure it is level.
3. Place Your Stones
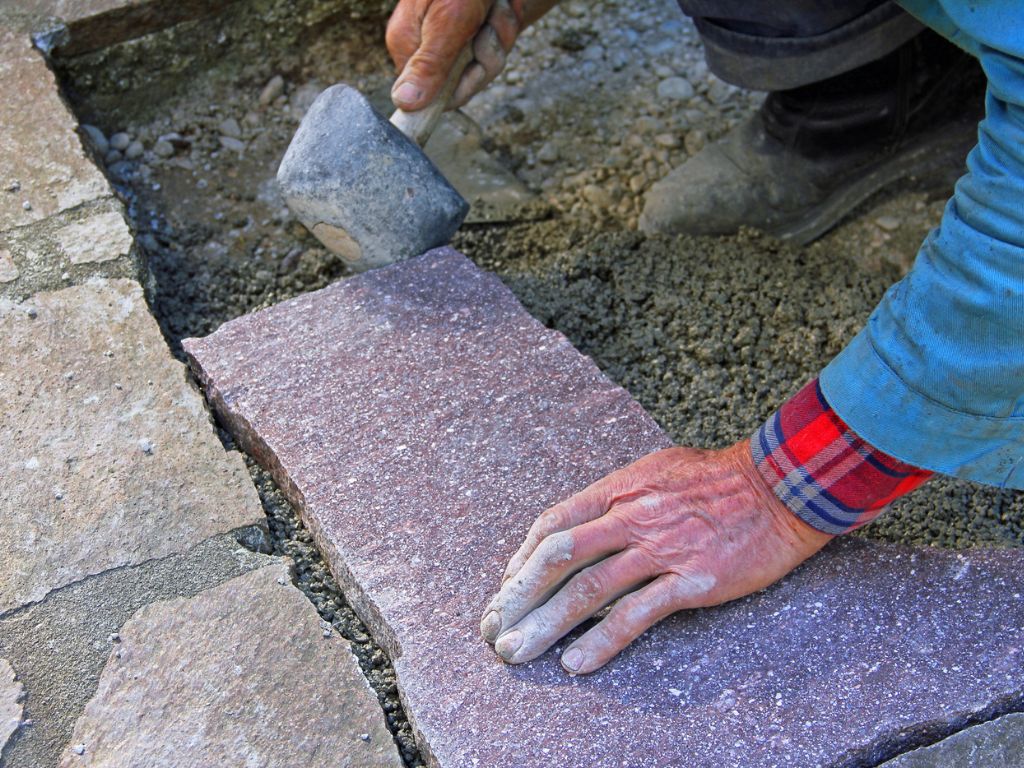
Carefully place each stone on the base, starting at one end of the path and working your way to the other. Use a level to check each stone as you go, making sure they are all even and flat.
4. Fill in the Gaps
Once all of your stones are in place, fill in any gaps between them with sand, gravel, or a specialized joint filler like gator dust or path fines. Gator dust is an excellent choice for joint fills as it hardens to create a stable yet flexible surface that resists erosion, weed growth, and insects. Path fines are another great option, designed to lock the stones in place while maintaining a natural look.
For a more traditional appearance, consider using pebbles. Each type of filler material offers different benefits:
- Gator Dust: Ideal for high-traffic areas due to its durability and ability to harden.
- Path fines: Provides a natural look with stability and is easy to install.
- Pebbles: Available in various sizes and colors for a more decorative finish that also allows for drainage.
Use a broom to sweep the chosen filler material into all of the crevices, ensuring a secure and stable path surface.
5. Finishing Touches
To complete your stepping stone path, add some decorative elements, such as plants or mulch around the edges. Steel edging can also be added for a clean and polished look. This will add some visual interest and help blend the path into your landscaping.
Common Mistakes to Avoid
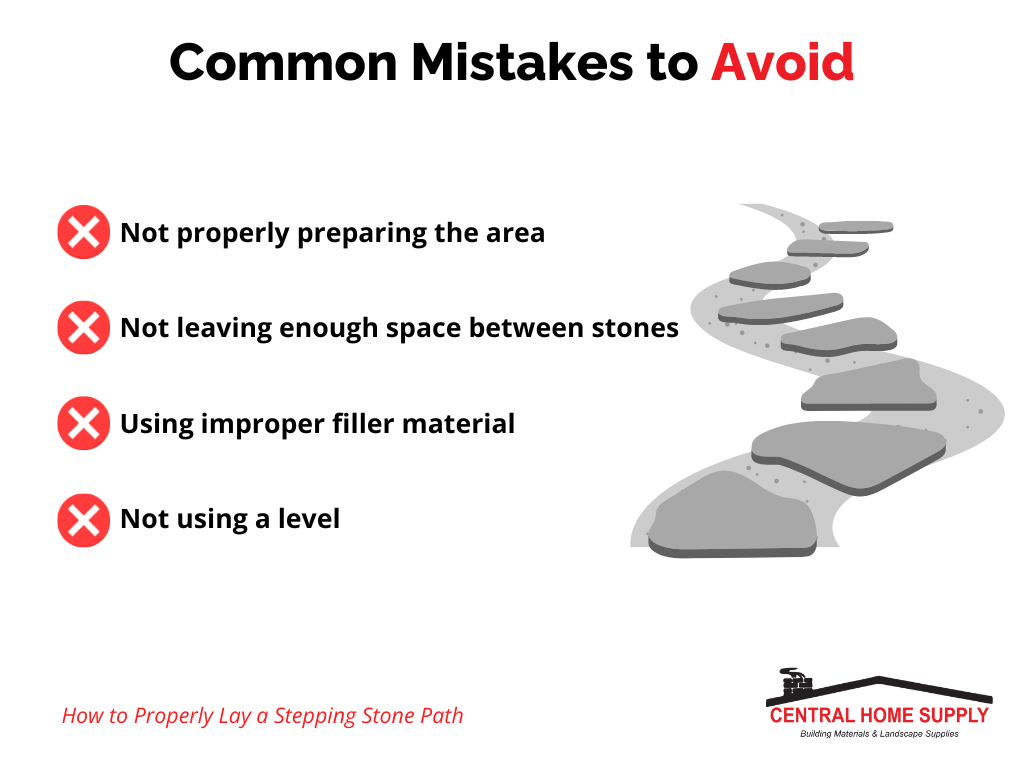
While laying stepping stones may seem like a simple task, there are a few common mistakes that you should avoid to ensure a successful installation. These include:
- Not properly preparing the area: Skipping the step of clearing and leveling the area can lead to an uneven path and potential tripping hazards.
- Not using a level: Without checking each stone for evenness, you may end up with a lopsided or unstable path.
- Using improper filler material: Using materials like dirt or mulch as filler can cause your stones to shift and become uneven over time.
- Not leaving enough space between stones: Leaving too little space between stones can make it difficult to walk on the path comfortably while leaving too much space can cause them to shift and lose stability.
Frequently Asked Questions About Stepping Stone Paths
Here are a few common questions we get about stepping stone paths:
How long will my stepping stone path last?
With proper installation and maintenance, a stepping stone path can last for many years. It’s important to periodically check for any shifting or damage and make necessary repairs.
Can I use any type of stone for my path?
While there are many types of stone that can be used for stepping stone paths, it’s important to choose a durable and flat option that is suitable for outdoor use.
What should I do if my stones shift or become loose?
If you notice any shifting or loosening of your stones, you can try repositioning them and filling in any gaps with additional filler material. If the problem persists, it may be necessary to reset the stones or seek professional assistance.
Do I need any special tools to install a stepping stone path?
While basic gardening tools like a shovel and level may be needed, specialized equipment is not typically required for installation. However, if you are using larger or heavier stones, it may be beneficial to have assistance or use equipment such as a wheelbarrow.
Ready to Get Started?
At Central Home Supply, we have a wide selection of high-quality stones and materials to help you create the perfect stepping stone path for your outdoor space. Our knowledgeable staff is also available to offer advice and assist with any questions you may have. Contact us today to get started on your stepping stone path project!
